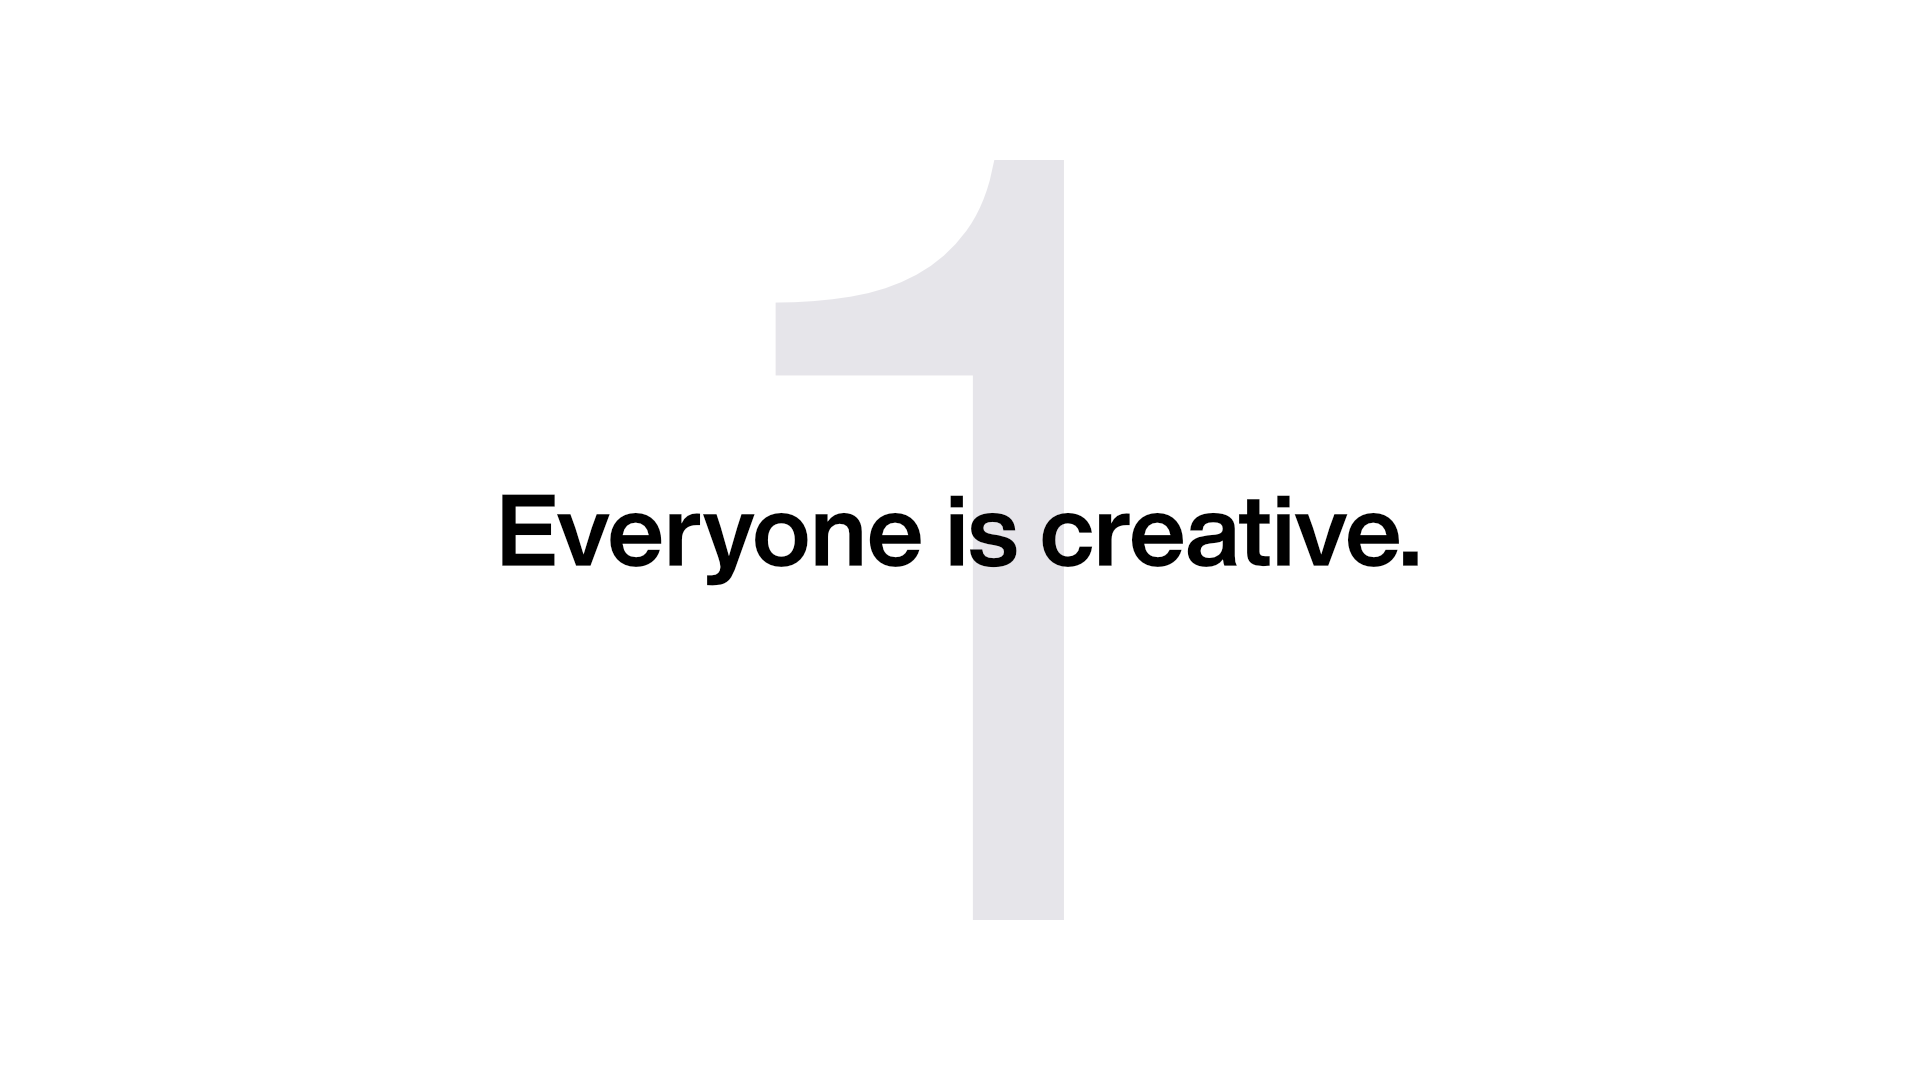
Lessons in creativity.
Planted 02019-09-26
The First-Year Integrated Core at Miami University focuses on thinking critically, creatively and conceptually. ESP 103 within the core is about Creativity, Innovation, and Entrepreneurial Thinking. Every student was tasked with building a creative mindset project. This is the breakdown and process of creating Lessons in Creativity.
The Process
01 Idea Breakdown
Come up with the lessons and script for the ideas.
02 Storyboard
Sketch out the flow of ideas and animations.
03 Reference Panels
Create vector boards to use as reference panels.
04 Animation
Bring in reference panels and begin keyframing.
05 Audio
Finding the right music is nearly impossible.

Idea Breakdown
I started with the basic idea that I wanted to make an animated video for the project. From there I started making a list of things we’ve done within ESP 103. Scribbling random icons and ideas that I could possible use to animate. The goal was to slowly build a case for the importance of creativity for the future, drawing from course concepts, activities, and discussions.
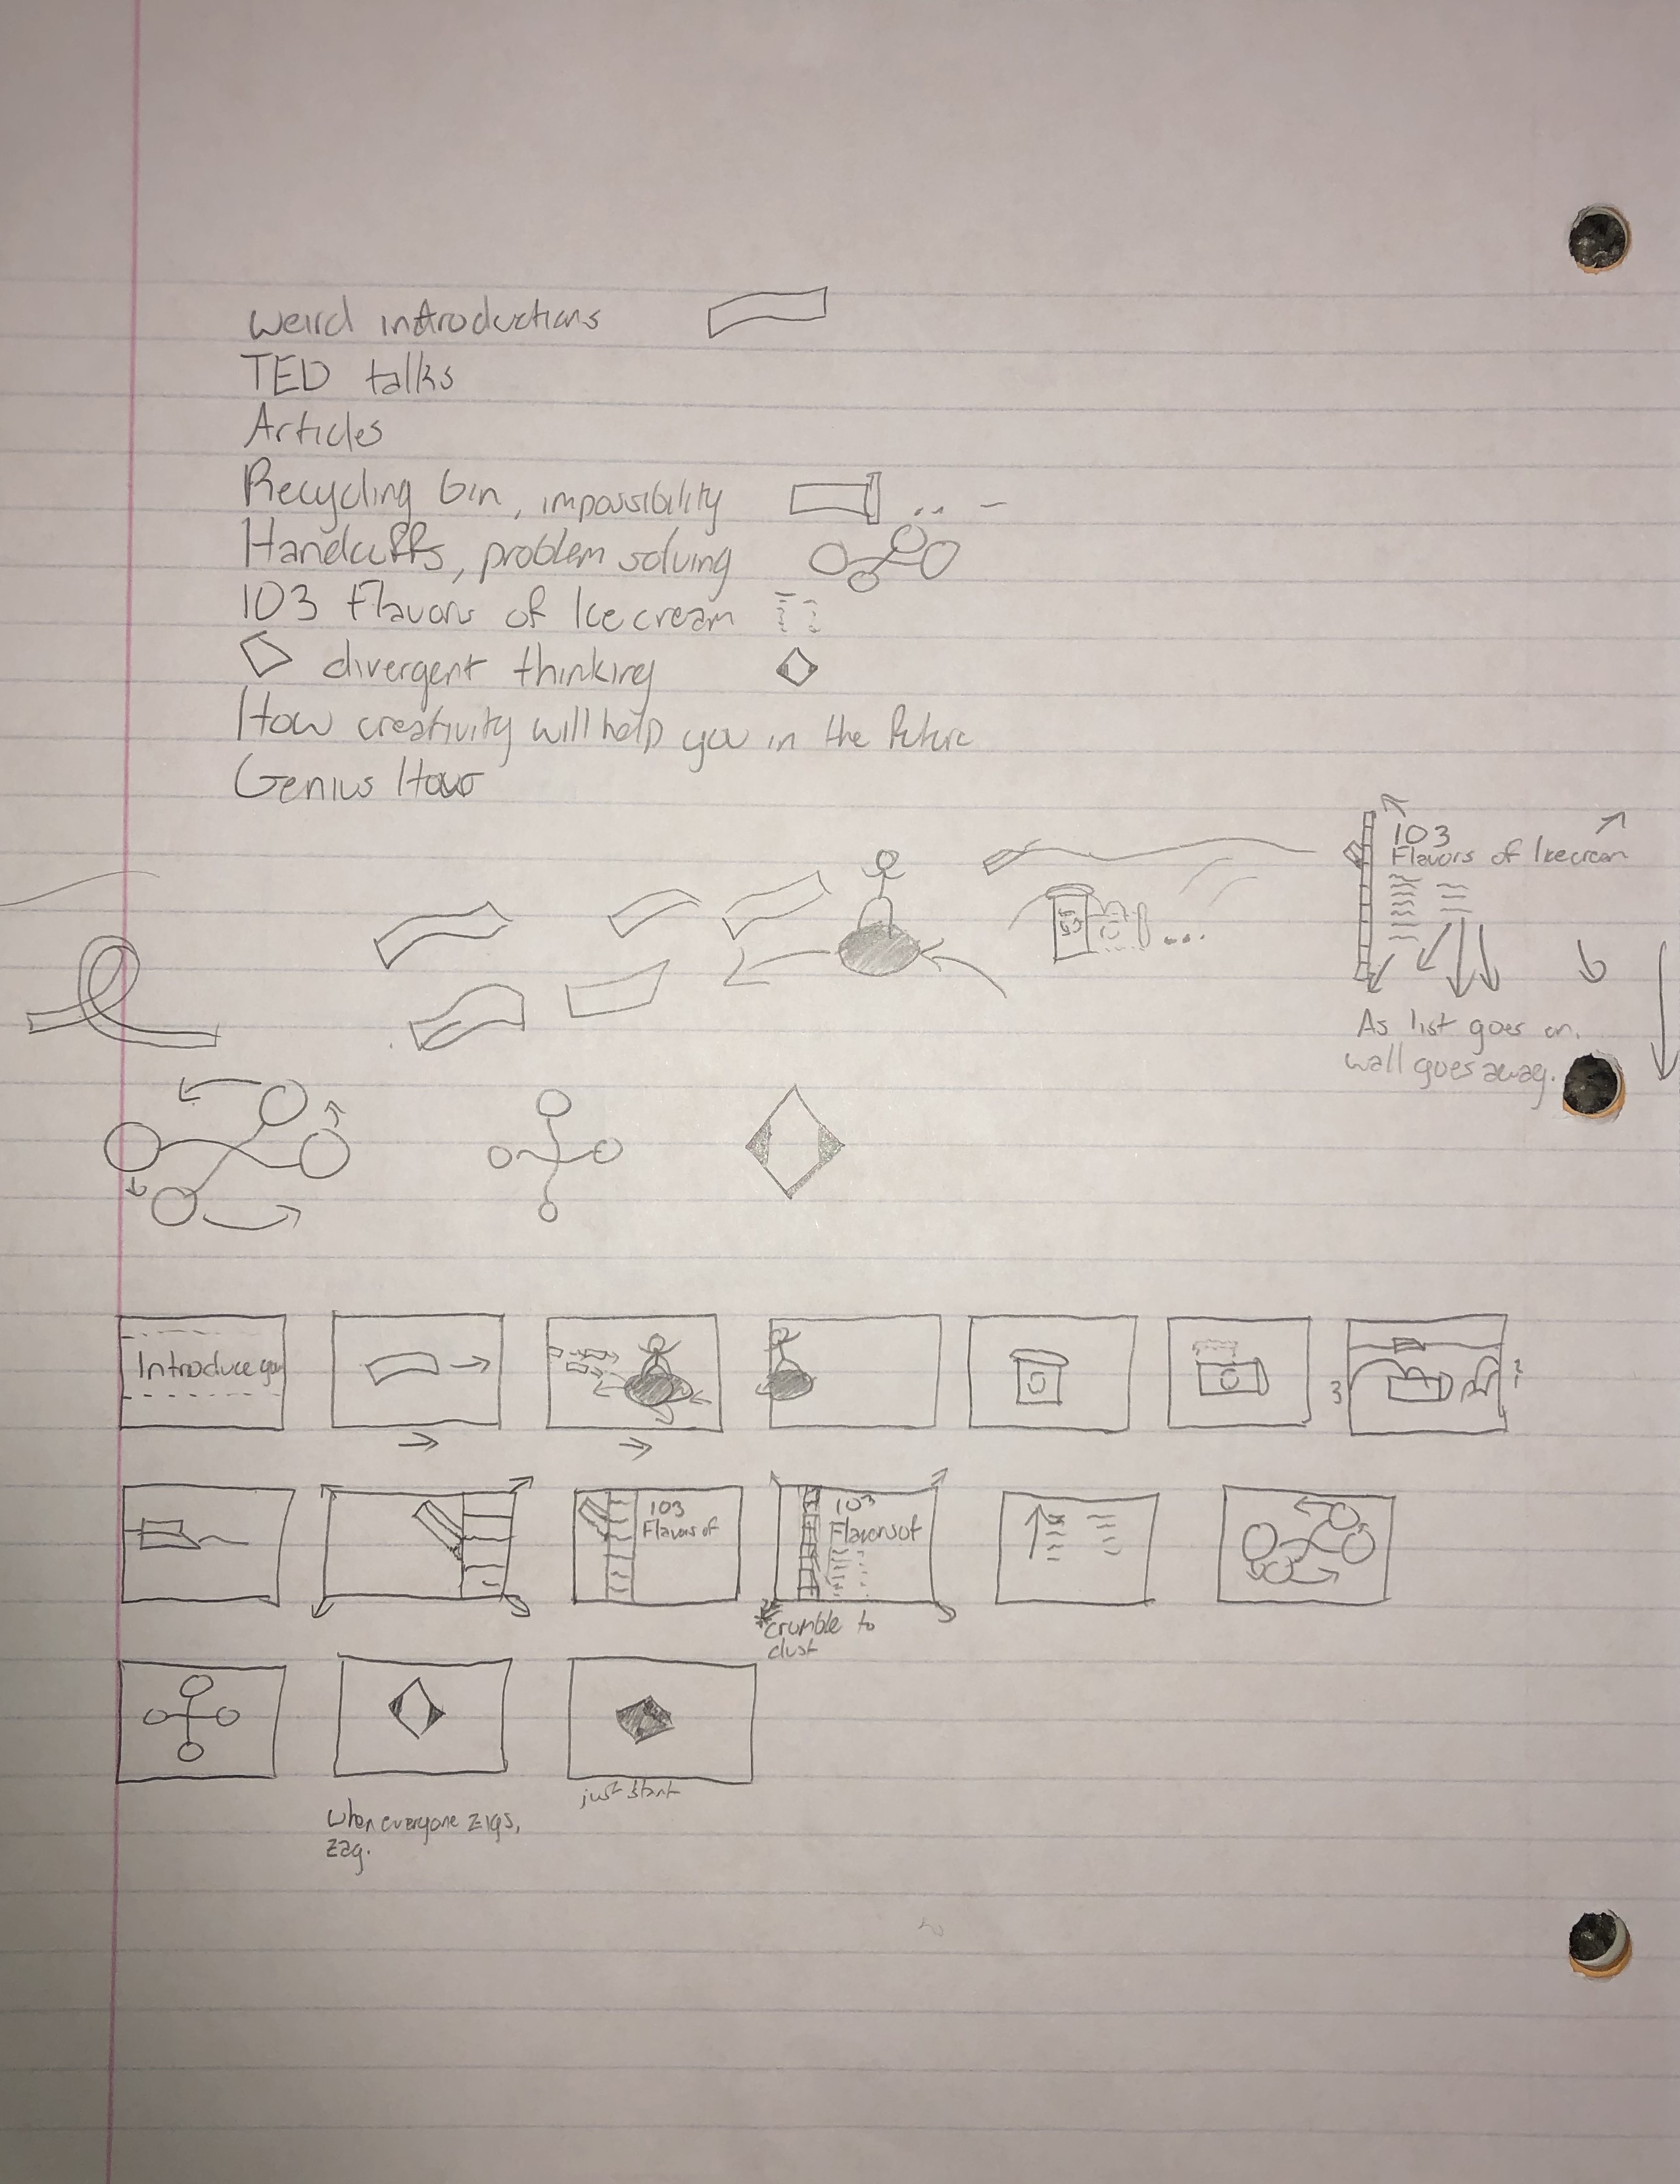
The idea for Lessons in Creativity dawned on me and I began to iterate through ideas to take on as lessons. Here are a few that didn’t make it into the final cut:
- Attachment to ideas is a route to dissapointment
- Your rational self is needed, but your crazy self is creative.
- Complement old emotions and behaviors with elegance.
- Don’t be fooled by originality.
- Post it’s and sharpies are your tools to make change.
- You have to understand the boundaries you have to create within.
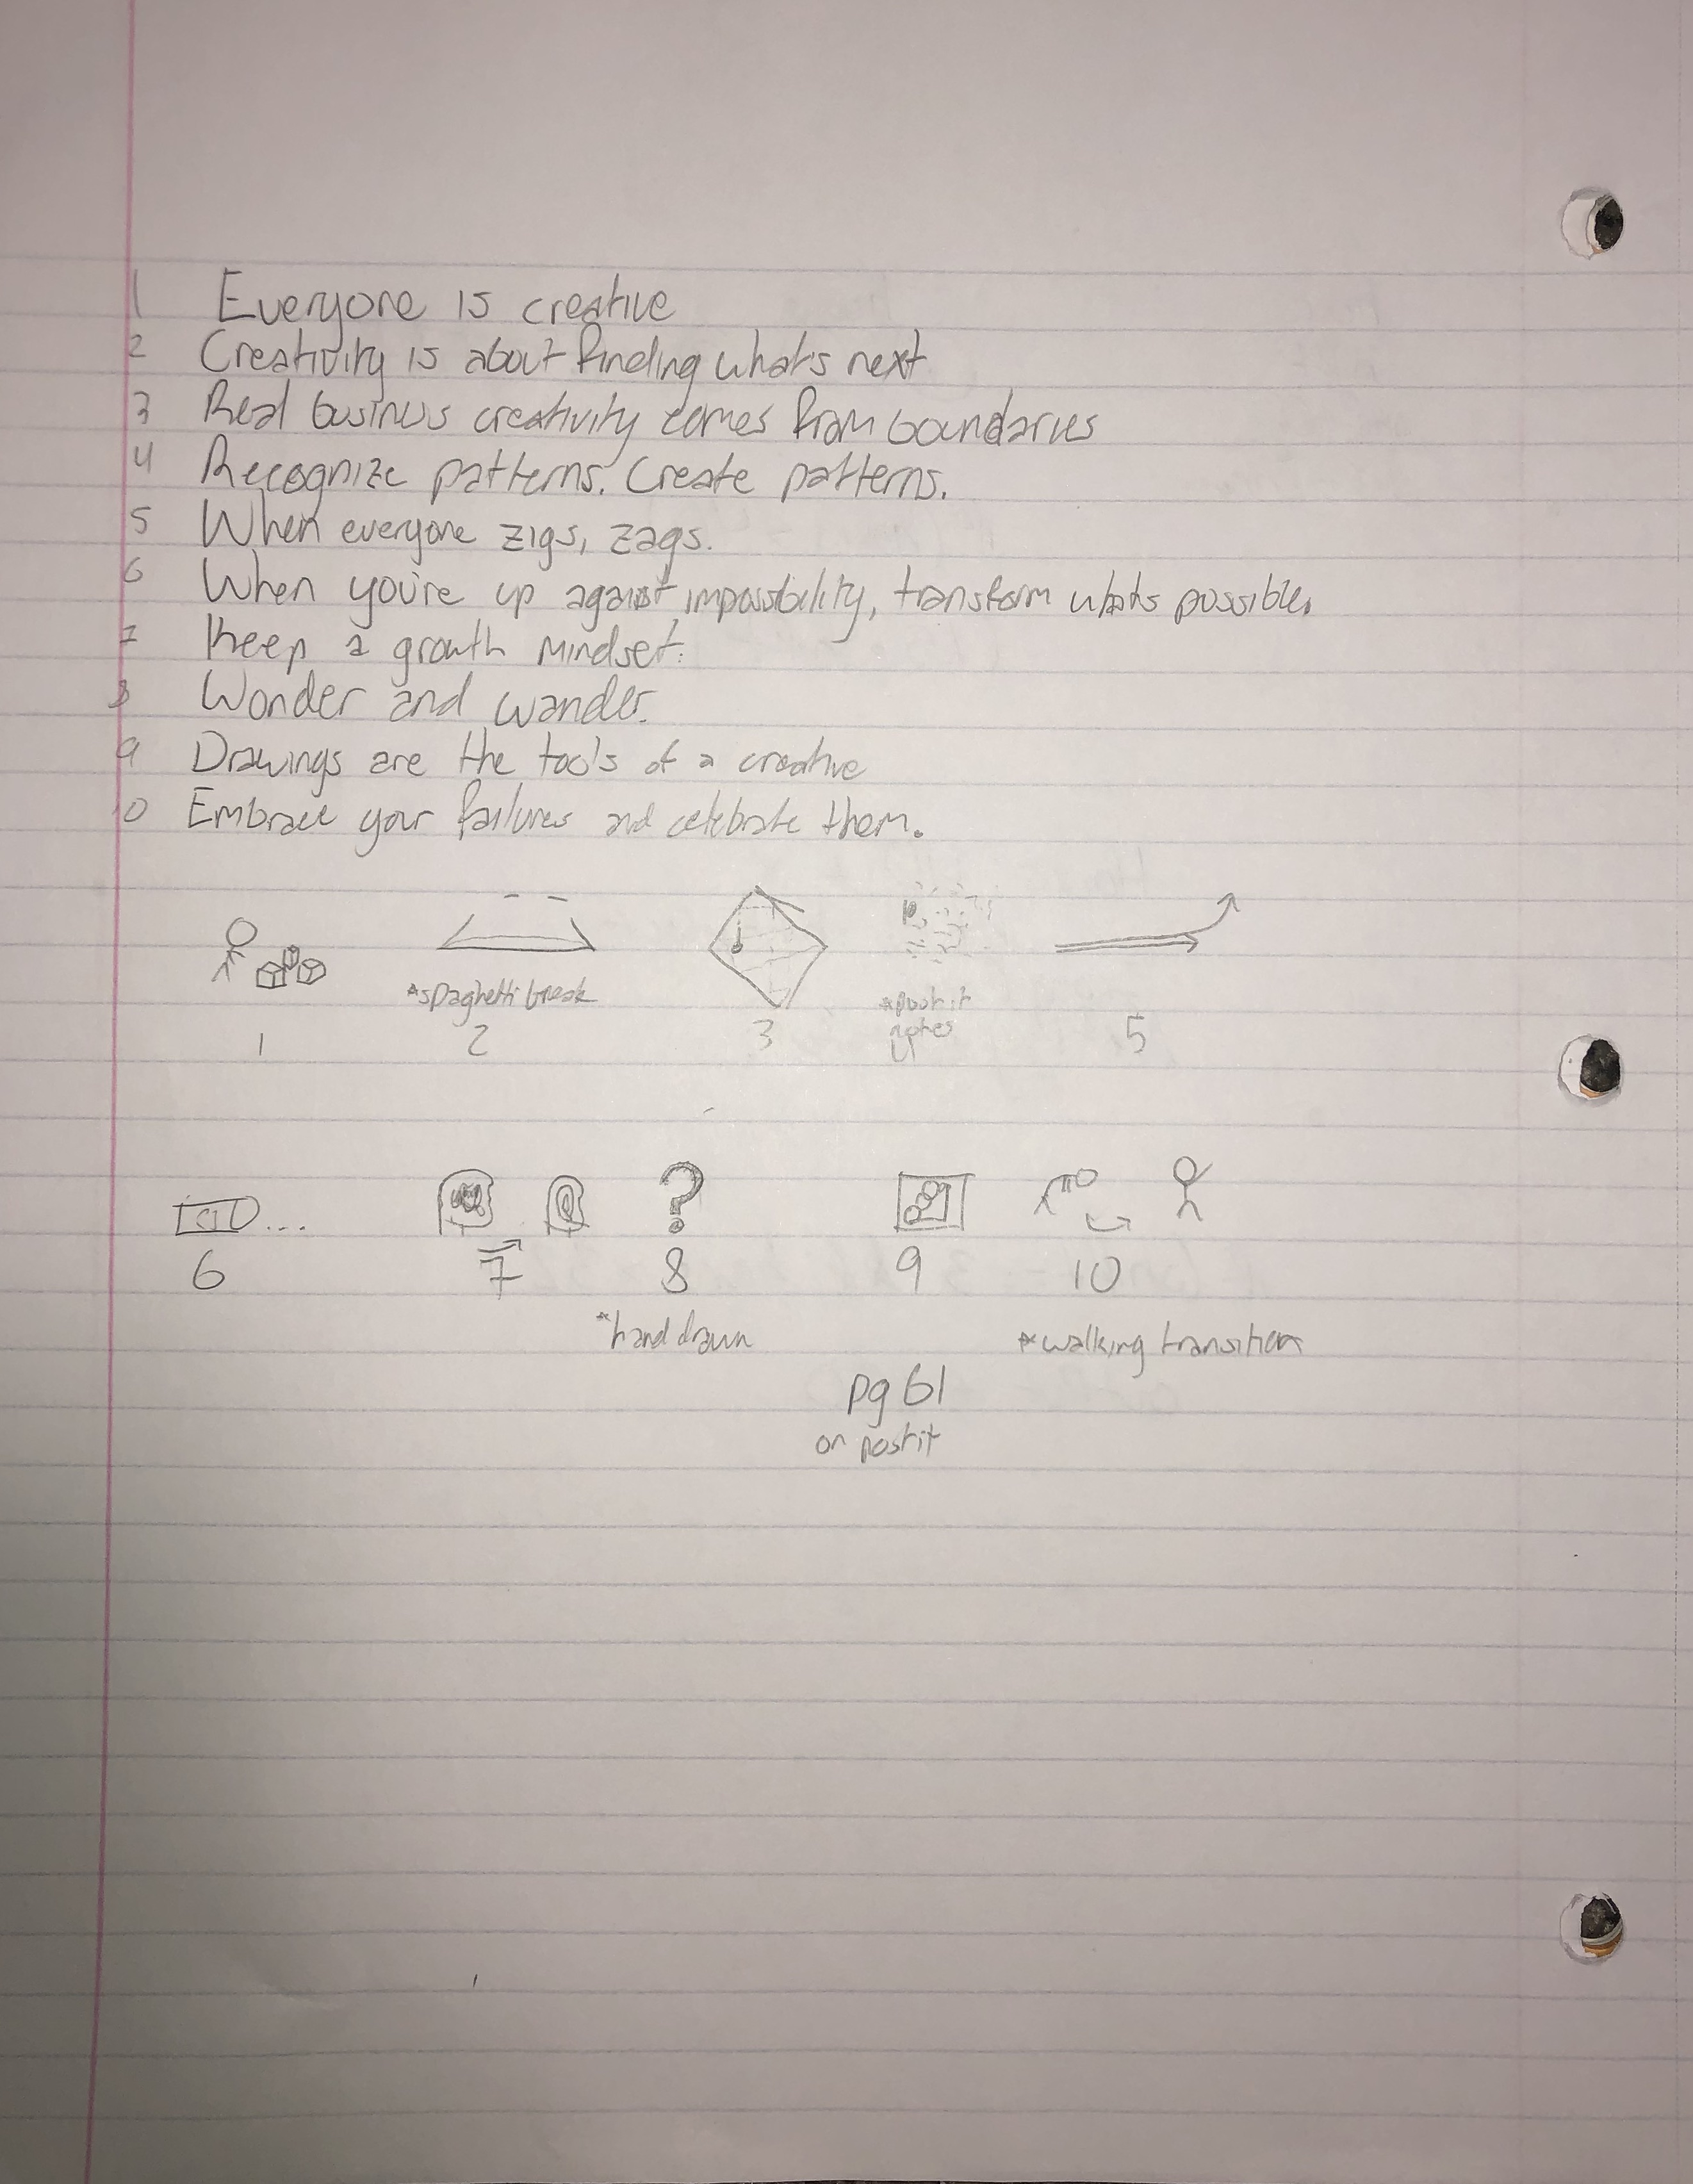
Storyboard
After selecting the lessons I wanted to focus on I began creating scenes related to each lesson. Trying to keep a sense of realism in this stage to manage the expectation of delivering on time created a nice boundary to keep things simple. Although I still planned to push myself by using some animation techniques I hadn’t learned before so I started with those.
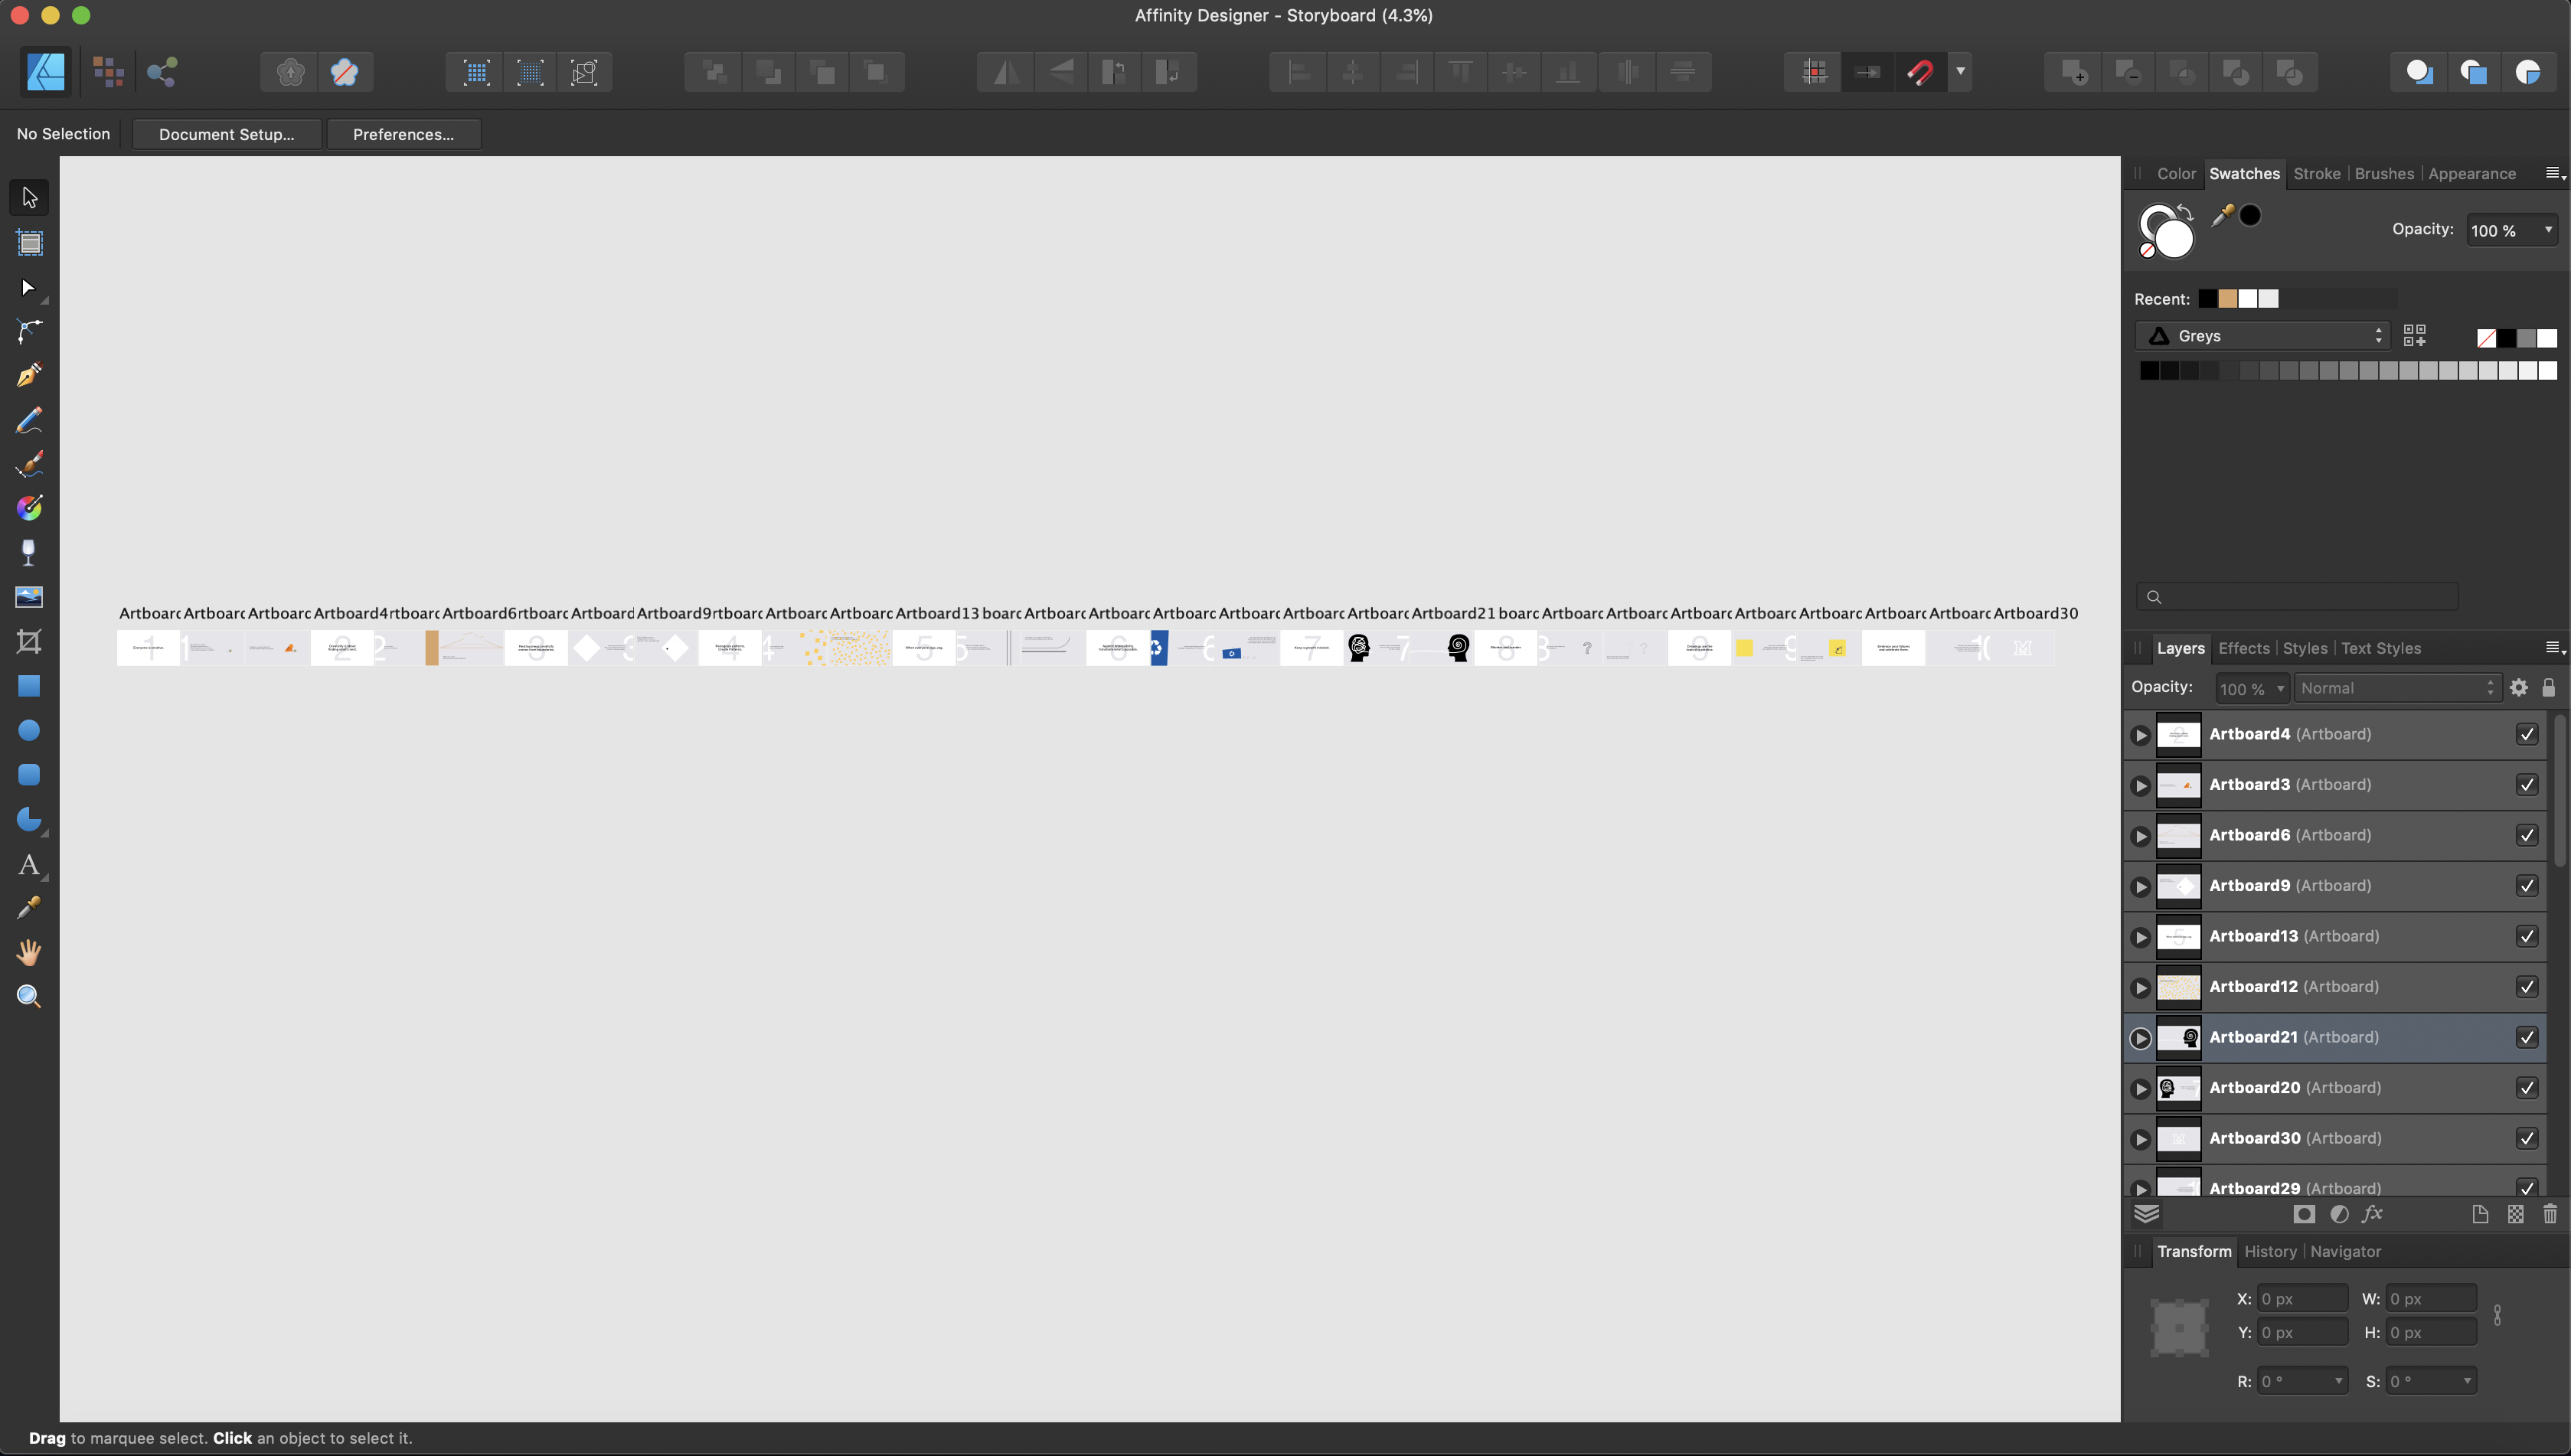
Reference Panels
After getting the previsualization for each lesson I moved into my vector program of choice – Affinity Designer. It makes more sense to use Adobe Illustrator since I was later going to be animating in Adobe After Effects, But Affinity just feels so much better to use I couldn’t help it. I ended up having to pull some assets from Affinity into Illustrator for better integration with After Effects.
Animation
This is by far the most grueling step in the process. Because I started with pushing myself past what I already was capable of I had to do some research to figure out how I wanted to complete the first scene. I’ve never used animation rigs before and because I wanted to animate characters and not just shapes or objects, I needed to make some purchases.
I settled on Rubber Hose 2. It kept a lot of the technical stuff out of the way and made things really simple. Or it was supposed to until it crashed. And crashed. And crashed again. After a couple hours of troubleshooting, I realized I had to enable some legacy effects within After Effects for Rubber Hose to function properly. With that figured out, I could finally start.
Keyframing is indicating a change in an objects attributes over time. It allows creators to animate things like position, size, color, etc. as a video progresses. It’s something really simple that builds up into complex webs over time. To make the project easier to manage I decided to work on each lesson in its own composition. This reduced the total amount of layers I was working with at any one time and helped me not get as lost in the mess of named layers. Because we always name our layers!
Animating all the titles became menial real quick. I ran into some setbacks by forgetting proper After Effects usage, meaning I had to redo things quite often as I got back into the swing of things. I finished a couple scenes and then let the project take a break. After all, this project was started the day the teacher started talking about it in class (which made me realize we’re actually supposed to use the syllabus) and I had made meaningful progress in the timespan of a few focused days.
After giving it a few days of rest to work on other assignments I came back to finish off the rest of the scenes. At this point, I was starting to hit the limitations of my technology. In 2016 I built my own computer to get some more power for cheaper than what Apple offers. I left my computer on as I left for class and I came back to an unresponsive black screen. I thought that was strange but these things usually fix themselves with time. Not this time.
It’s still hard to talk about… I’m planning on taking it home sometime and troubleshooting more. It still won’t boot.
My MacBook was running up against its drive space limits as the After Effects cache built up to over 50GB on my 256GB drive, in which 100GB is used up by applications alone. Of course, I could clear the cache but having it there gives me more 1:1 playback speeds that help me accurately determine where keyframes should go. Within the time allotted I believe that some of the keyframes could be cleaned up for a less jarring effect. But deadlines are deadlines, and shipping is part of the job.
Audio
Audio is truly one of the most elusive parts of a creative project. It’s something that so easily makes or breaks an entire project for getting the emotional response you seek from the viewer After hours of searching, worn down and beaten from the countless no, nos, not this one either, oh hell no…. uuuuggggh, I selected a track.
Shipping it
It’s not perfect, it needs a lot of polish… but it exists. And there’s pride to be had in that. Now on to the next one. View the final project here. View the Slide Deck